How to address wedding envelopes
Planning a wedding involves countless details, and one of the most important tasks is sending out invitations. The process of addressing envelopes may seem like a minor task, but your envelopes and invitations set the tone for your guests’ first impression of your special day.
This blog post will cover traditional wedding envelope addressing etiquette, which offers a foundation for you to start from. But in this day and age, I firmly believe you should do what makes most sense to you based on your relationship with your guests! So many of these rules were made in a different age – when the woman always took the husband’s last name, when couples didn’t live together for 10 years before getting married, etc. and I think certain rules are overly strict for no reason (go see unmarried couple living together to see what I mean). Formality is nice, especially for a wedding, but most people don’t know these rules and are unlikely to be offended if you deviate.
Considerations
Before we start, there are some decisions you need to make that impact how you address the envelopes:
Will you use formal titles/honorifics (i.e. Mr., Mrs., etc.)? Use of formal titles is not required but it can help set the level of formality you expect at your event. For example, you can set the stage for a black-tie affair by using titles. Some people like the formality titles bring even if it’s a cocktail attire wedding. But it’s your choice. If you want to address some envelopes more formally and others more casually based on relationships, I say go for it. It’s not like guests will see each other’s envelopes.
Are you using inner envelopes in addition to the outer mailing envelope? How you address the outer envelope may differ if you include inner envelopes (learn more about inner envelopes here). If you are inviting a family, for example, you can address the outer envelope to just the parents and then list everyone’s names on the inner envelope. For a general rule of thumb: if you are using both outer and inner envelopes: the outer envelope will be addressed more formally (Mr. and Mrs. Smith) and the inner envelope more casually (John and Jane).
Some additional considerations to keep in mind:
The use of “Plus-One” or “and Guest” is for when you are allowing your guest to bring whoever they want to the wedding (aka you have no say in the matter). If you know your guest has a significant other and you only want them to bring that person as a guest, then list both names on the envelope.
Single people and children over the age of 18 should get their own invitation (so, 2 roommates each get their own invite). If it’s an adult child living at home, it’s your choice if you want to send them a separate invitation (hey the cost of invites adds up!). Also - I have seen couples that already have children address an envelope directly to their under 18 children, which is super cute if you ask me.
Historically, the men get listed first (if there are no professional ranks). But it’s 2024 so list whoever you want first! Even the queen of etiquette, Emily Post, agrees! List the person you are closest to first. If you know both equally, list them in alphabetical order. There’s a traditional rule that states you do not separate the male’s first and last name (that’s where “Mr. and Mrs. John Smith” comes from) but again, I say do what you want.
Whether you use someone’s full birth name (Matthew vs. Matt) is your preference based on your relationship and/or how formal you want to be.
If you chose to use titles/honorifics, they are:
Mr. – for all men
Mrs. – for married women, including widows unless you know they go by something else
Ms. – for an unmarried woman, a married woman who kept their own last name, or any woman who prefers a title that doesn’t refer to their marital status (I mean, men don’t distinguish themselves by their marital status!)
Side note – the use of Mrs. vs. Ms. for married women who kept their own last name is debated. I personally recommend Ms. in this scenario, otherwise it seems like you are addressing the envelope to their mother (my last name is Chakamian and Mrs. Chakamian is my married mother!). But it also comes down to what your guest uses (and some may not care one way or the other).
Miss – for young girls under 18
Mx. – for people who don’t identify with a gender or chose not to use gender-specific titles
Mmes. – for married women with the same last name (or you can do Mrs. and Mrs.)
Messrs. – for married men with the same last name (or you can do Mr. and Mr.)
For distinguished professional titles, it is proper etiquette to use the title. The person with the professional title goes first. There are usually five professions distinguished by honorifics.
Doctors – use “Dr.” or “Doctor”
Military Personnel – use “Captain”, “Lieutenant”, etc.
Judges – use “The Honorable” or “Judge”
Religious Dignitaries – use “The Reverend”, “Rabbi”, etc.
Lawyers – use “Esq.” (but at the end! Ally McBeal, Esq.)
Envelope Addressing Etiquette
Okay, enough preamble. Onto the names! I’ve provided different envelope etiquette options based on the level of formality you may be interested in. I also added notes about how things may differ if you use inner envelopes.
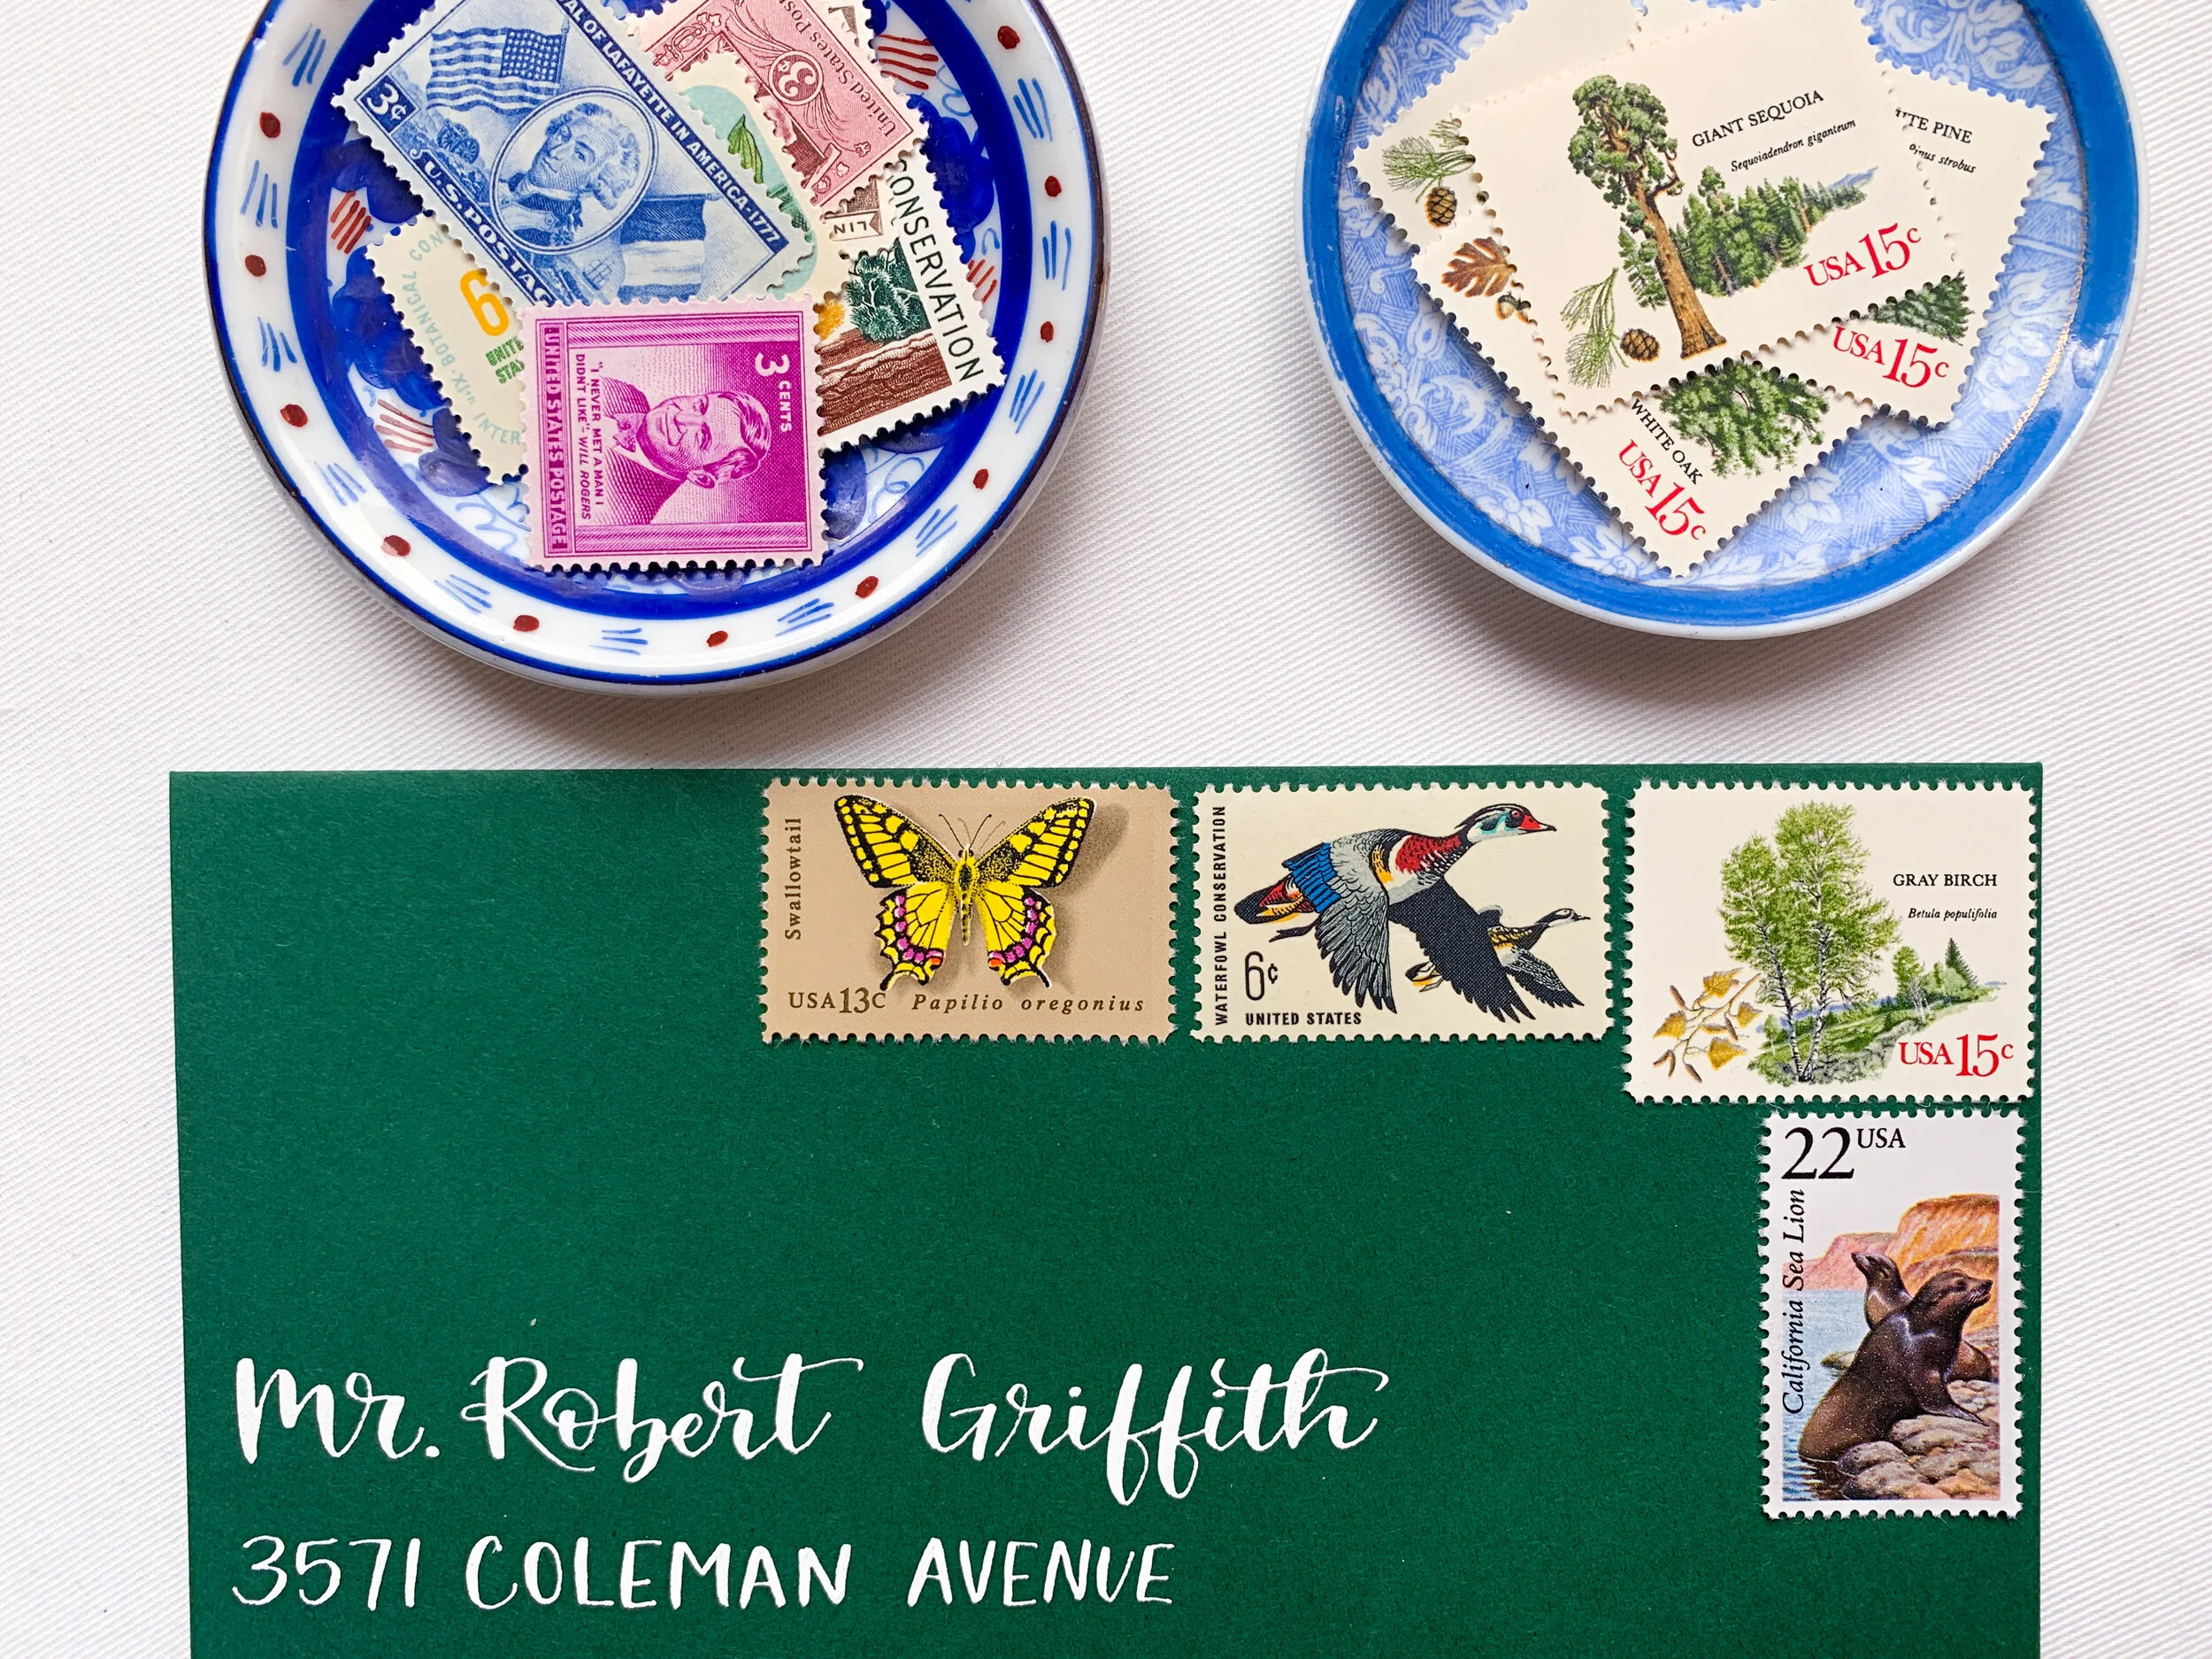
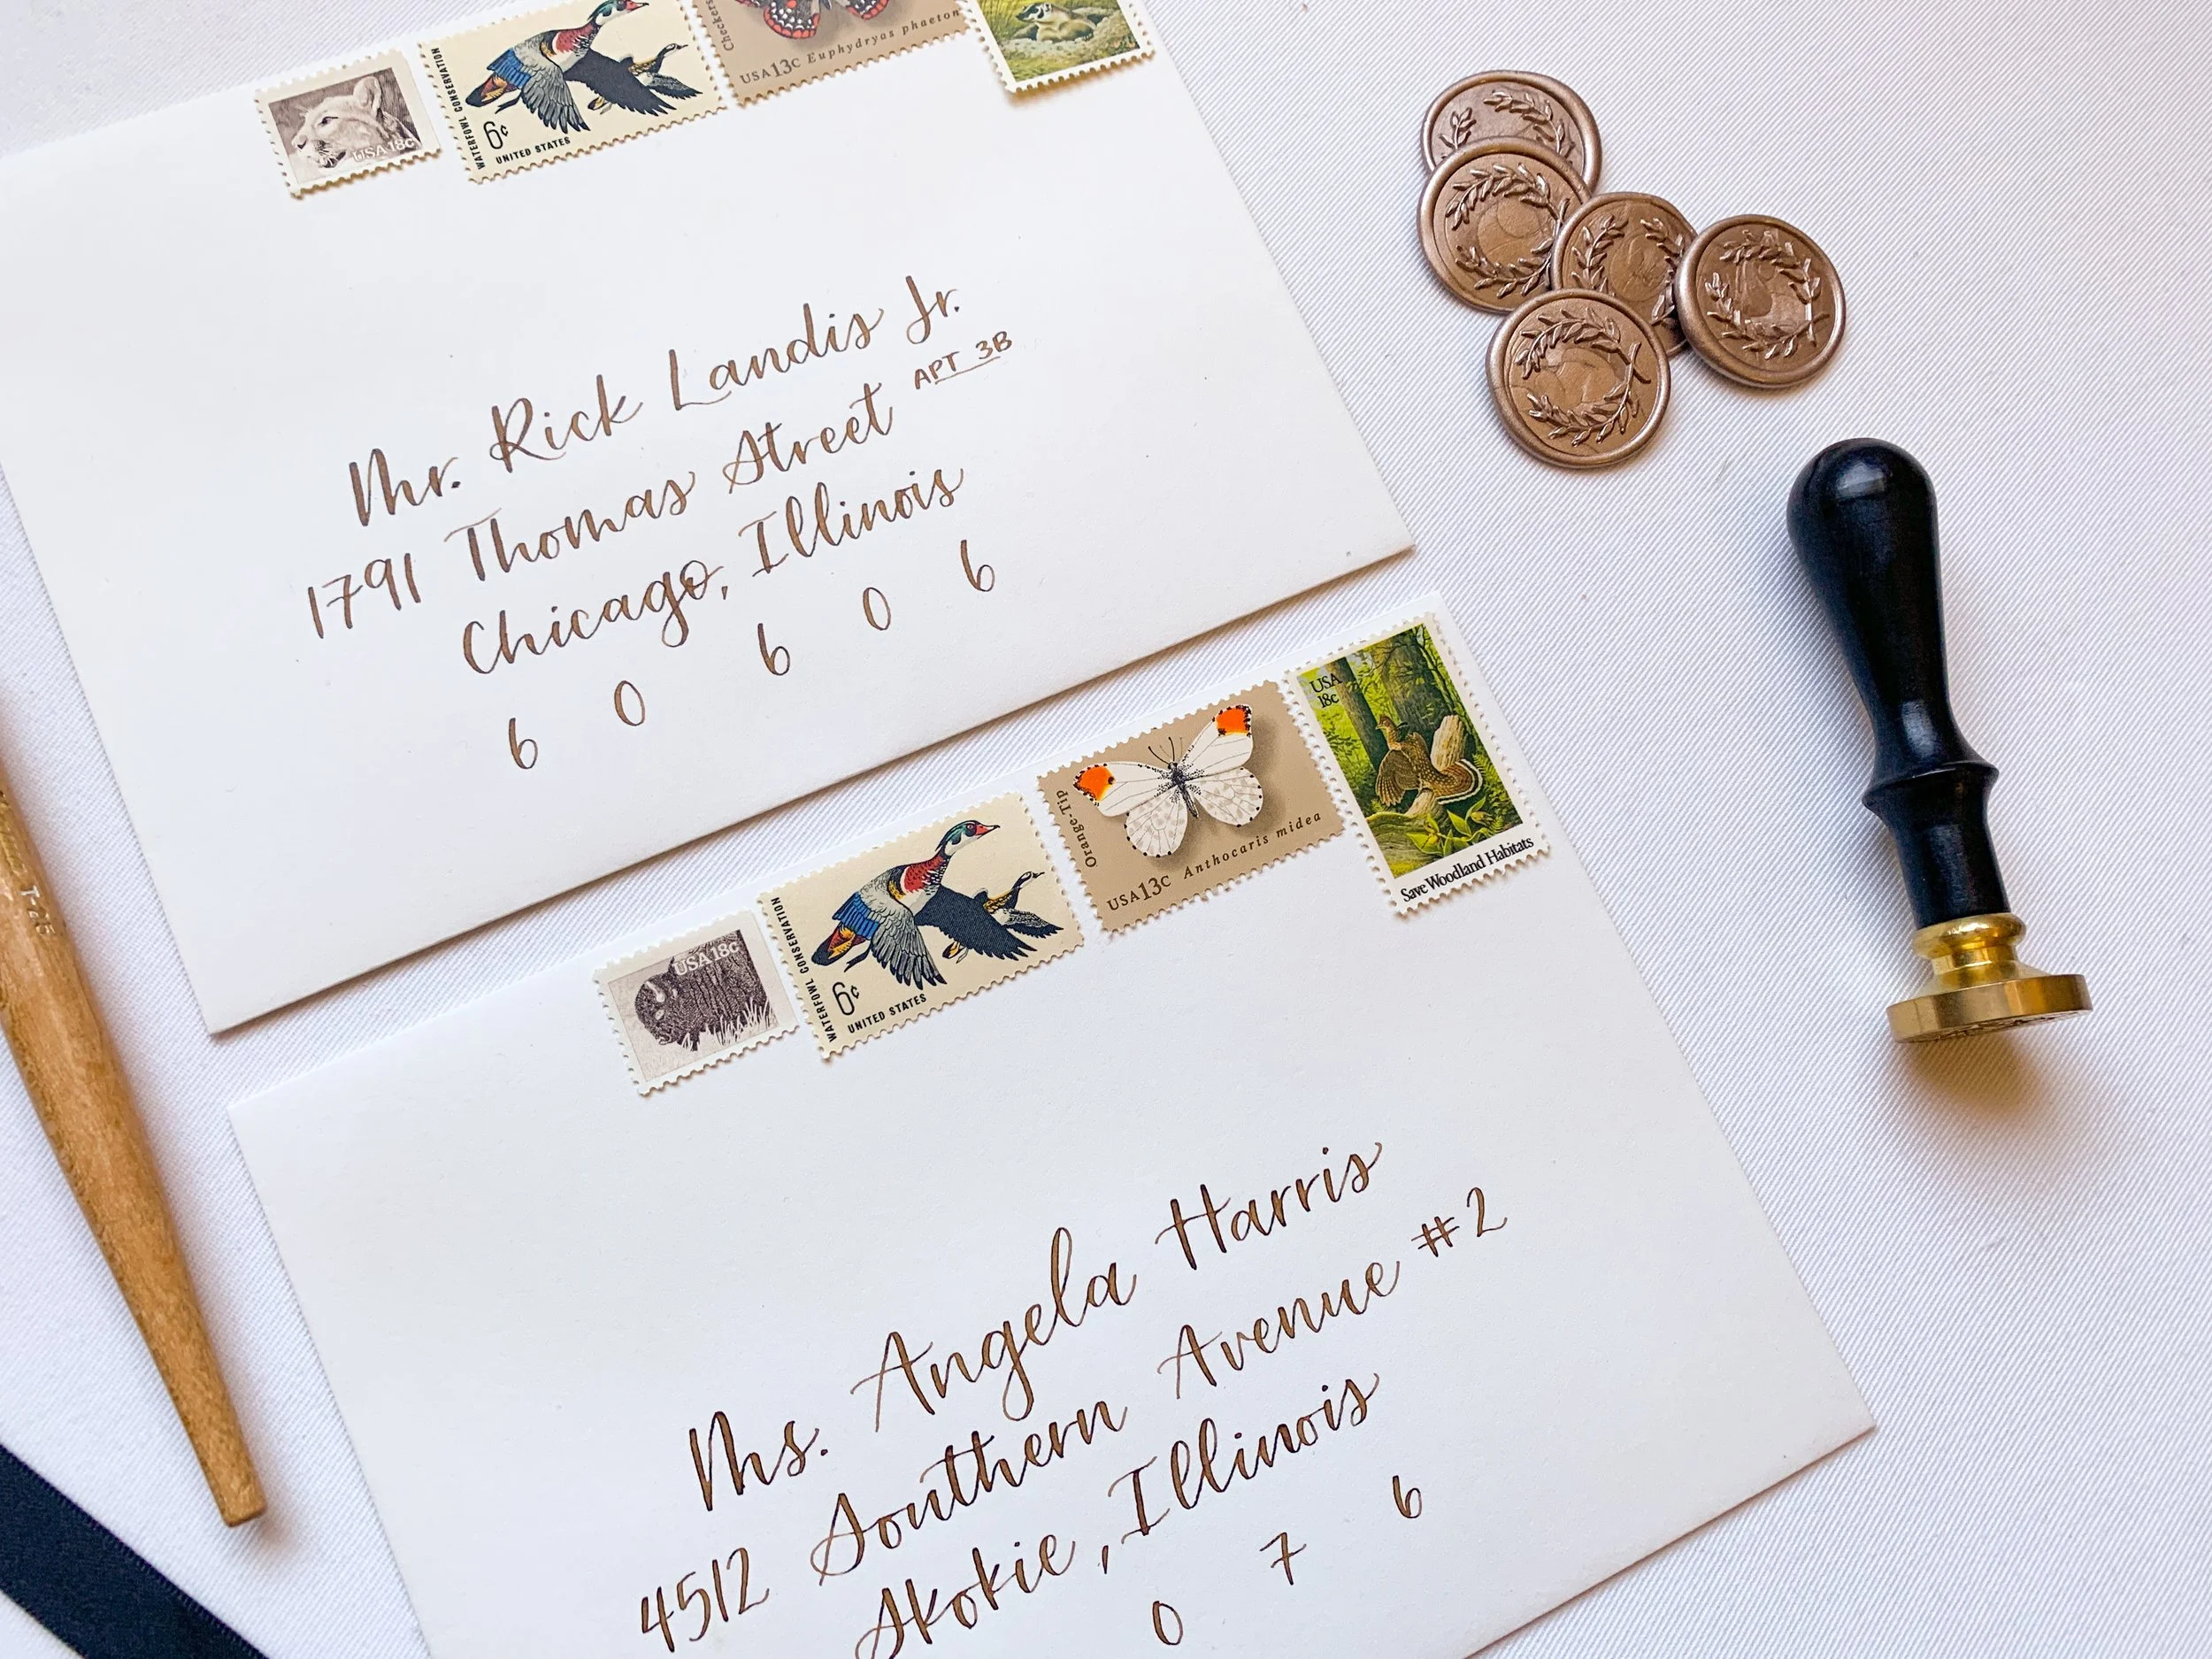
Formal: Ms. Daisy Jones
Not Formal: Daisy Jones
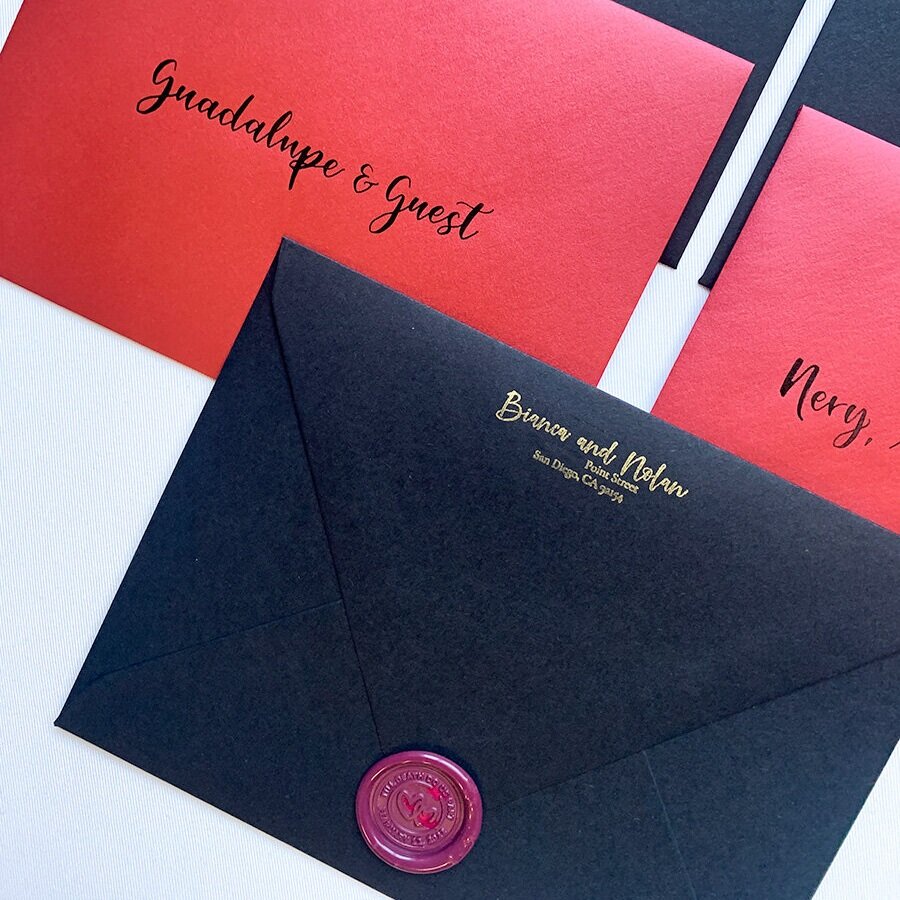
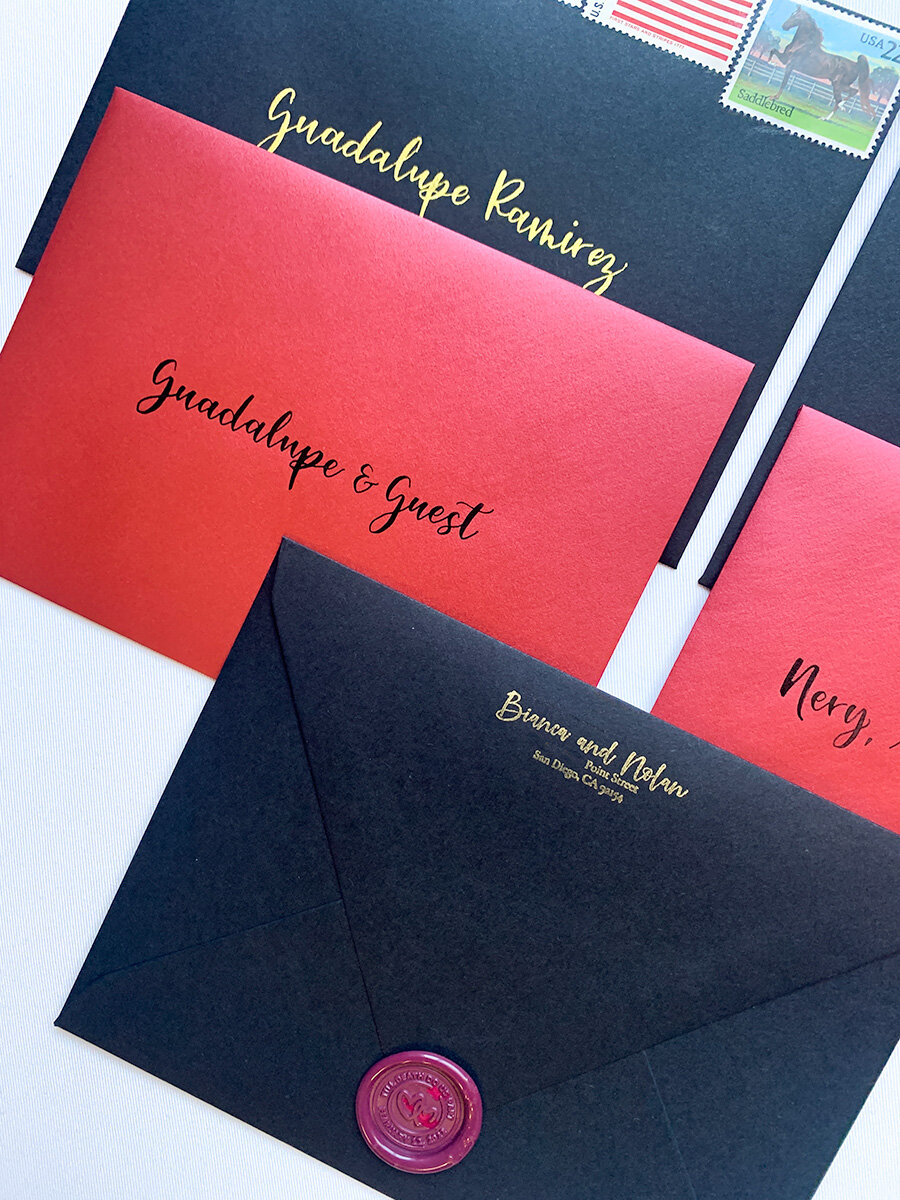
Single person, with a plus-one
Formal: Ms. Daisy Jones and Guest
Not Formal: Daisy Jones and Guest
Note: If you are using inner envelopes, the outer envelope would only have Daisy's name; "and Guest" would only be noted on the inner envelope

Envelope addressed to a single person

Envelope addressed to a same sex couple
Formal: Mr. and Mrs. Dunne
Also Formal: Mr. Nick and Mrs. Amy Dunne
A Little More Formal: Mr. and Mrs. Nick Dunne
Not Formal: Nick and Amy Dunne
Note: List the person you are closest to first. If you’re equally close, then list them in alphabetical order.
Same sex married couple, with the same last name
Formal: Mrs. and Mrs. Hugo
Also Formal: Mrs. Evelyn and Mrs. Celia Hugo
A Little More Formal: Mrs. and Mrs. Evelyn Hugo
Old-School Formal: Mmes. Hugo
Not Formal: Evelyn and Celia Hugo
Note: List the person you are closest to first. If you’re equally close, then list them in alphabetical order.

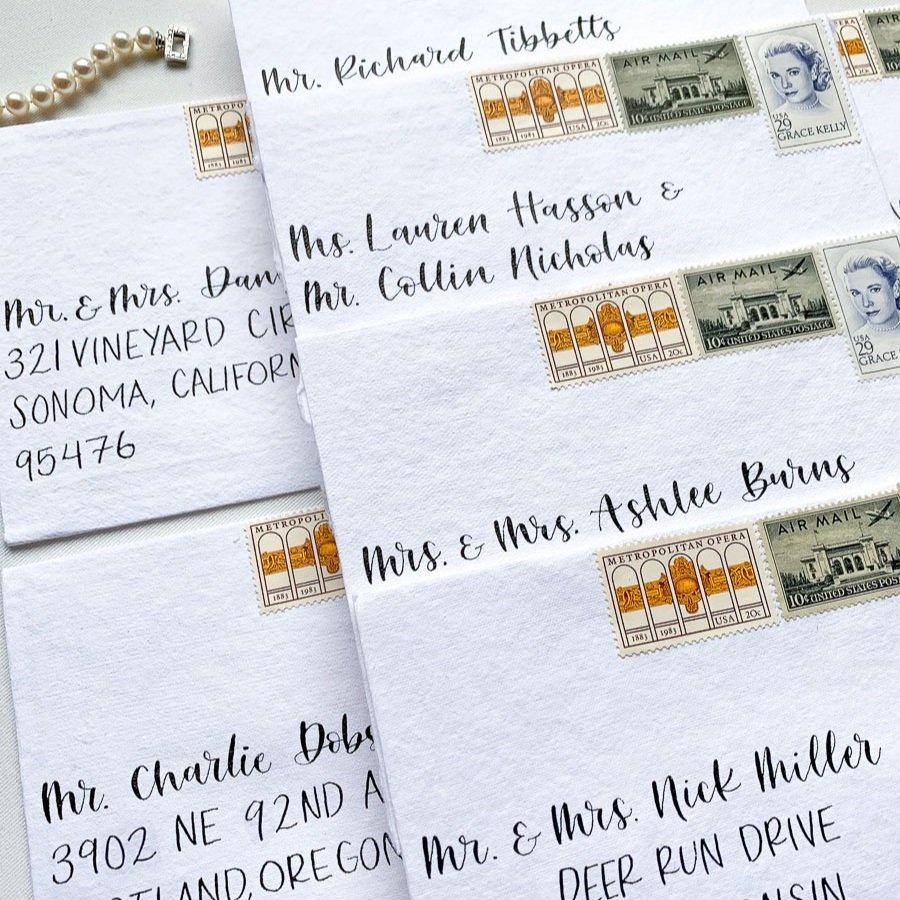
Envelope addressed to a married couple
Formal: Dr. and Mrs. Watson
Also Formal: Dr. John and Mrs. Mary Watson
A Little More Formal: Dr. and Mrs. John Watson
Not Formal: John and Mary Watson
Note: List the person you are closest to first. If you’re equally close, then list them in alphabetical order.
Married couple, with the same last name, and both use the same professional title
Formal: Drs. Elizabeth and Stephen Best
Also Formal: The Doctors Best
Not Formal: Elizabeth and Stephen Best
Note: List the person you are closest to first. If you’re equally close, then list them in alphabetical order.
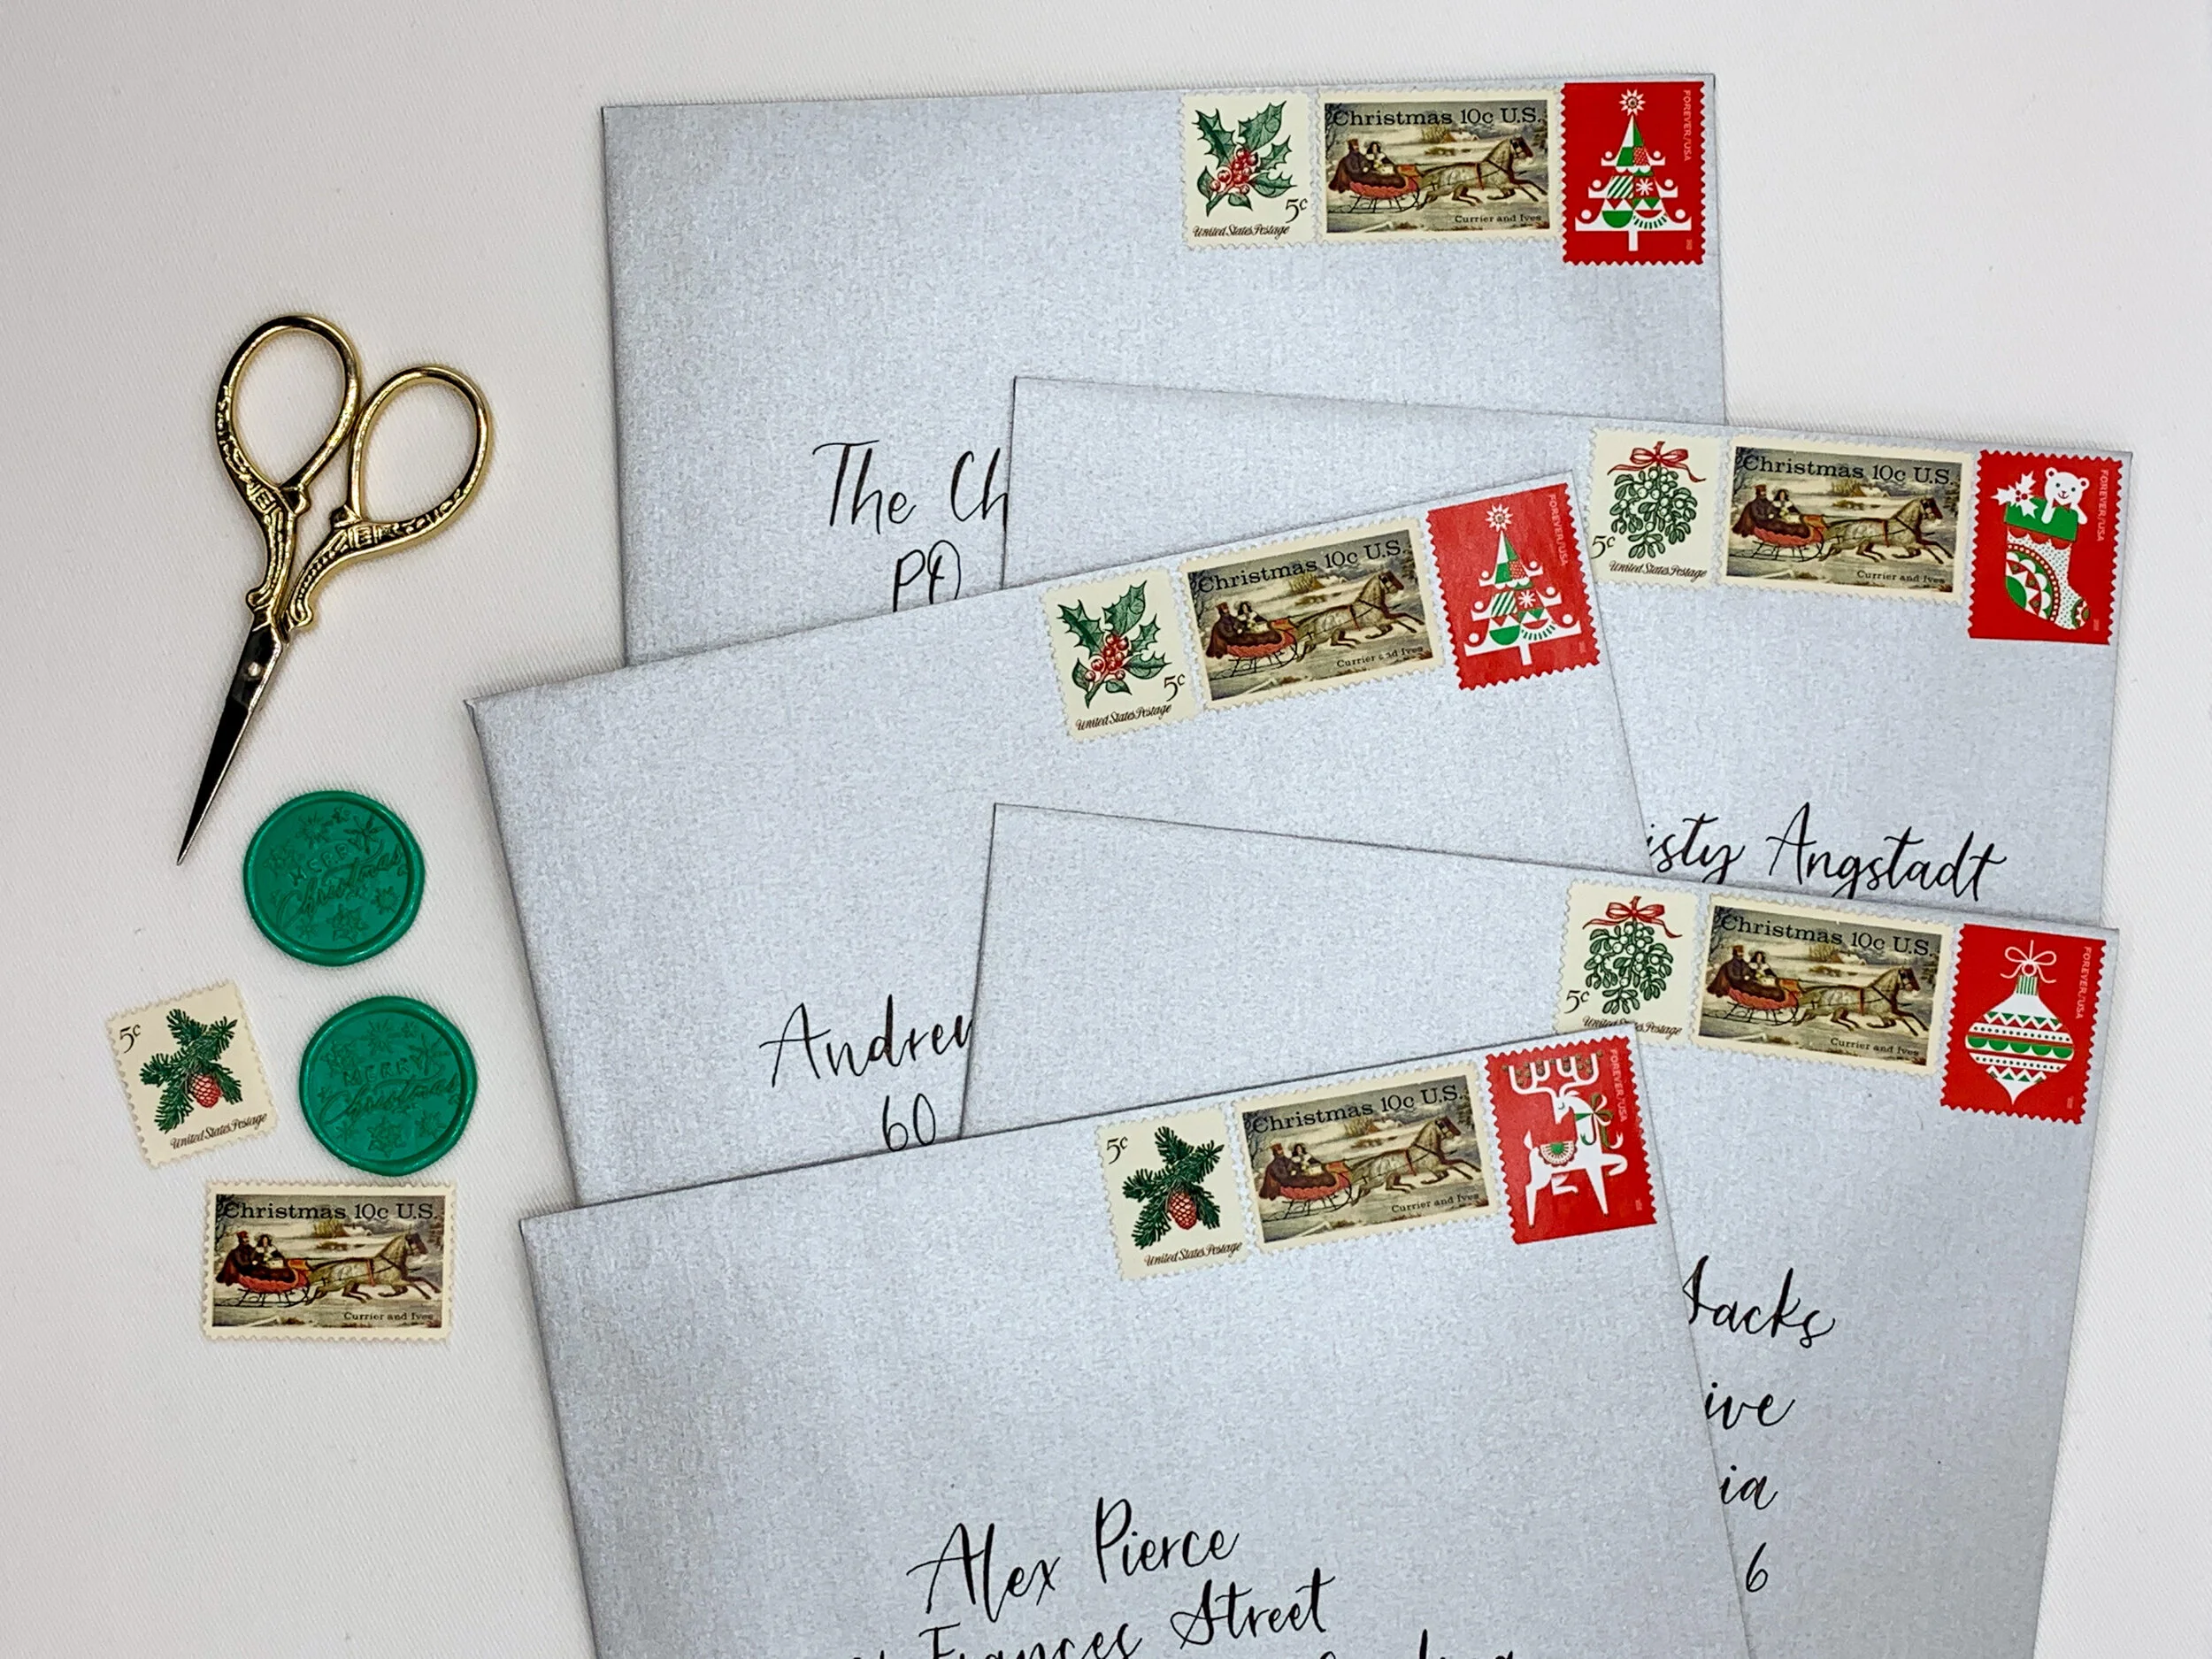
Formal: Ms. January Andrews and Mr. Augustus Everett
Also Formal: Ms. Andrews and Mr. Everett
Not Formal: January Andrews and Augustus Everett
Note: List the person you are closest to first. If you’re equally close, then list them in alphabetical order.
Unmarried couple, living together
Traditionally, you don’t use “and” if the couple is not legally married and would instead list the individuals on two separate lines using single person rules:
Ms. Tiffy Moore
Mr. Leon Twomey
HOWEVER, I say this is a judgement call. In this calligrapher’s opinion, if the couple is living together then their legal marital status doesn’t matter. In that case, the “married couple, with different last names” rules apply.
Note: List the person you are closest to first. If you’re equally close, then list them in alphabetical order.
Envelope addressed to a doctor
Formal: Dr. Alexis Montgomery and Mr. Daniel Grant
Not Formal: Alexis Montgomery and Daniel Grant
Note: List the person you are closest to first. If you’re equally close, then list them in alphabetical order.
Married couple, with different last names, and both use the same professional title
Formal: Dr. Briana Ortiz and Dr. Jacob Mddox
Not Formal: Brian Ortiz and Jacob Maddox
Note: List the person you are closest to first. If you’re equally close, then list them in alphabetical order.

Envelope addressed to a couple with different last names

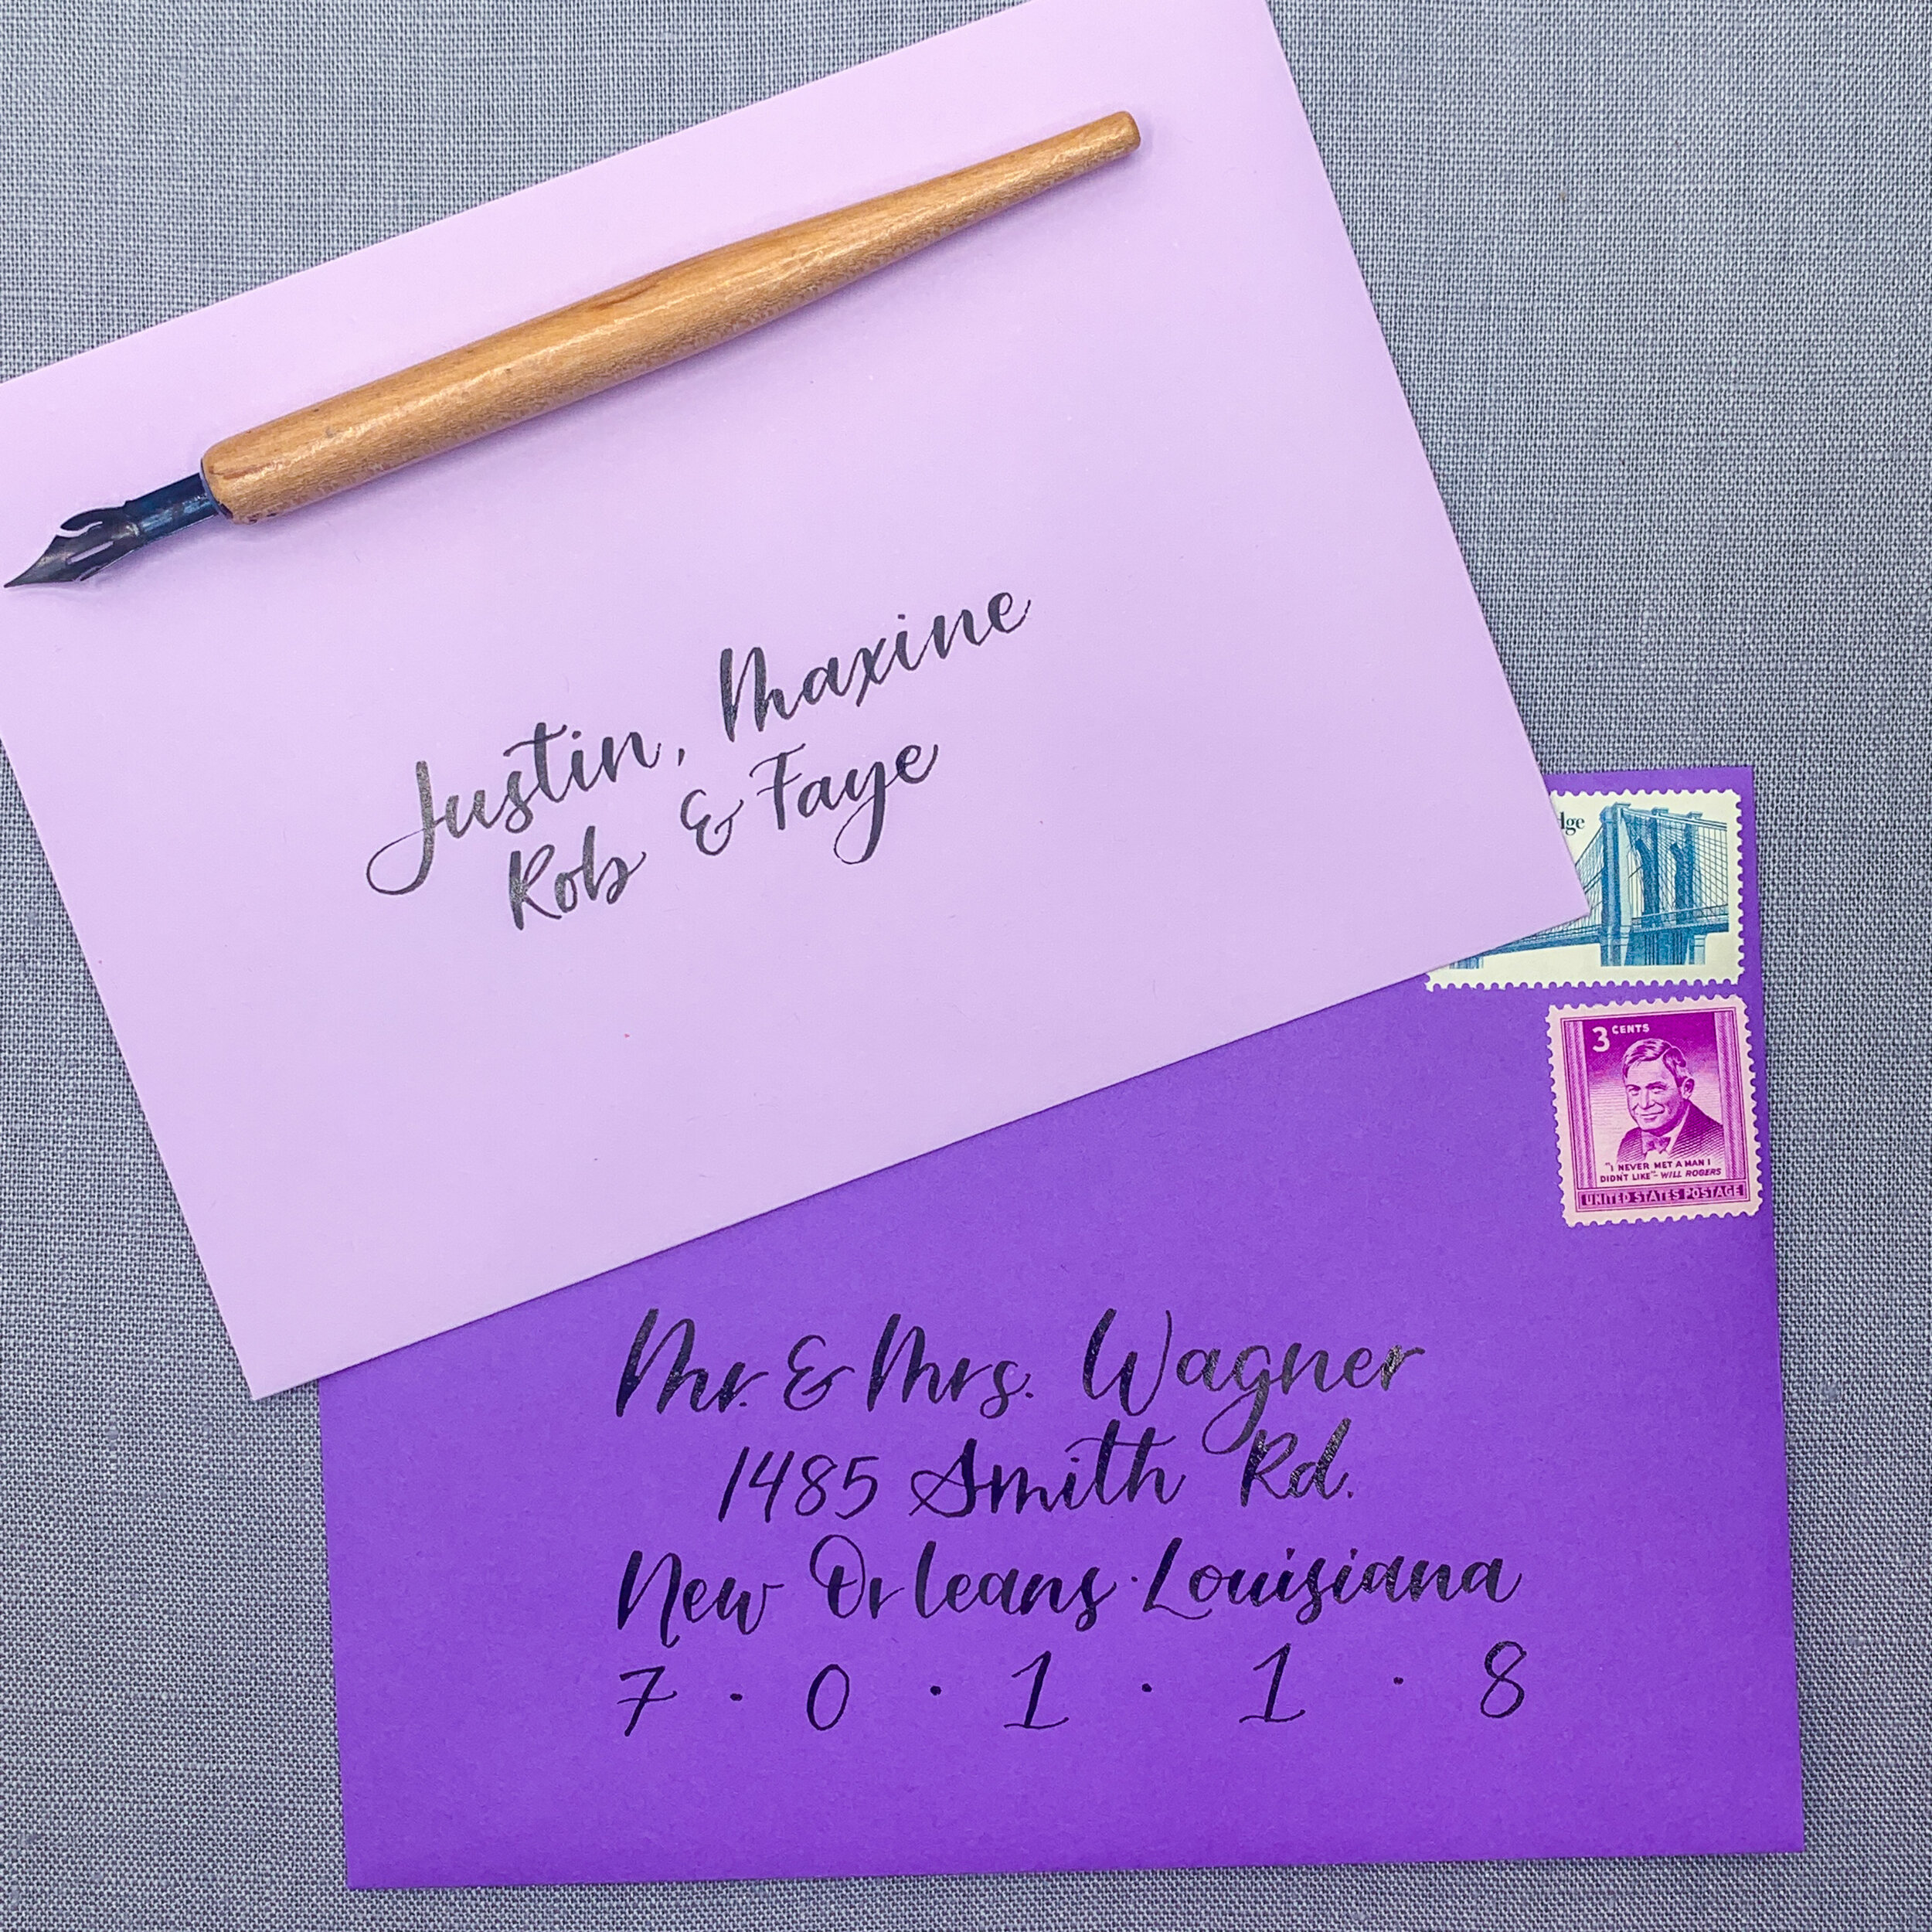
Envelopes addressed to a family, featuring inner envelopes
The Rostov Family
Note: If you are using inner envelopes, you can also address the outer envelope to just the parents using the married couple rules, and then list all the family member’s names on the inner envelope.
Second Note: If only some children are invited, then follow the rules for “married couple, same last name” and list the invited children on a separate line.
Family, with different last names
The Weasley Granger Family
Alternative Option:
Mr. Ron Weasley and Ms. Hermione Granger
Rose and Hugo (on a separate line)
More Formal Option: The Family of Mr. Ron Weasley and Ms. Hermione Granger
Note: If you are using inner envelopes, you can also address the outer envelope to just the parents using the married couple rules, and then list all the family member’s names on the inner envelope.
Second Note: If only some children are invited, then follow the rules for “married couple, same last name” and list the invited children on a separate line.
Hopefully this guide to wedding envelope addressing etiquette makes preparing your names for your envelopes a little easier! I know it’s a lot of rules, but at the end of the day, remember, you know the person you are inviting better than any etiquette rule book. Knowing what the rules are helps you to comfortably break them and infuse your personality into your invitation suite.
Addressing envelopes for your wedding can be a time-consuming task, so consider hiring a calligrapher (cough me, cough) to take this off your plate, save you from hand cramps, and transform your envelopes into works of art, adding an extra layer of elegance to your wedding stationery. Inquire today!
PS. If you noticed most or all of the book references that these characters are from, then we should be friends! Add me on Instagram and tell me your favorite book!